WvW Objectives
1. Overview & PPT
WvW objectives are the structures and points of interest your world captures and defends. Each objective contributes Points Per Tick (PPT) to your world's score every few minutes. Holding more and better-upgraded objectives means more PPT — and ultimately more Victory Points at the end of each skirmish window.
PPT is calculated and awarded roughly every 5 minutes. Each tick in a skirmish window accumulates toward your skirmish score. Skirmishes run approximately every 2 hours.
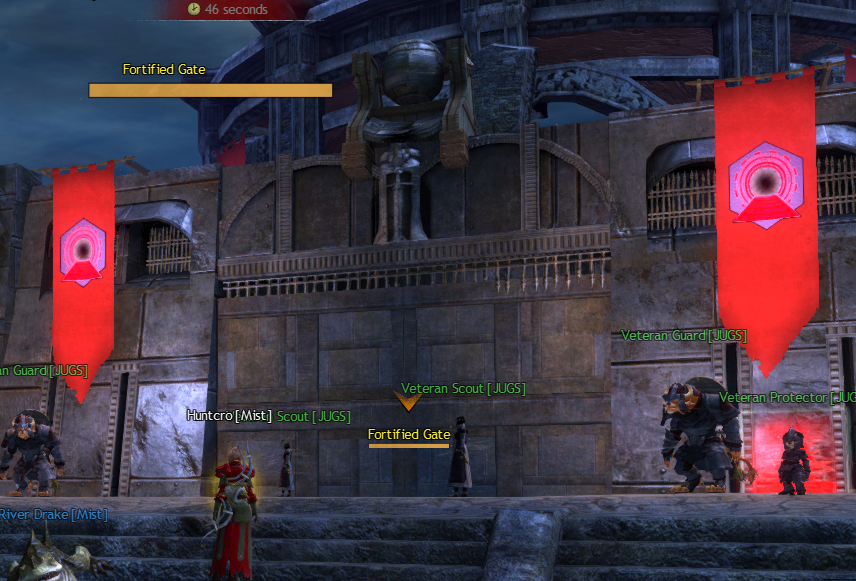
2. Capture Times & Guard Types
Capturing an objective requires players to stand uninterrupted inside the capture circle for the full duration. Interruptions (being knocked out, leaving the circle) reset progress.
| Objective | Capture Time | Stages | Lord / Guard Type |
|---|---|---|---|
| Supply Camp | 60 seconds | 1 stage | Veteran Supervisor / Veteran Master |
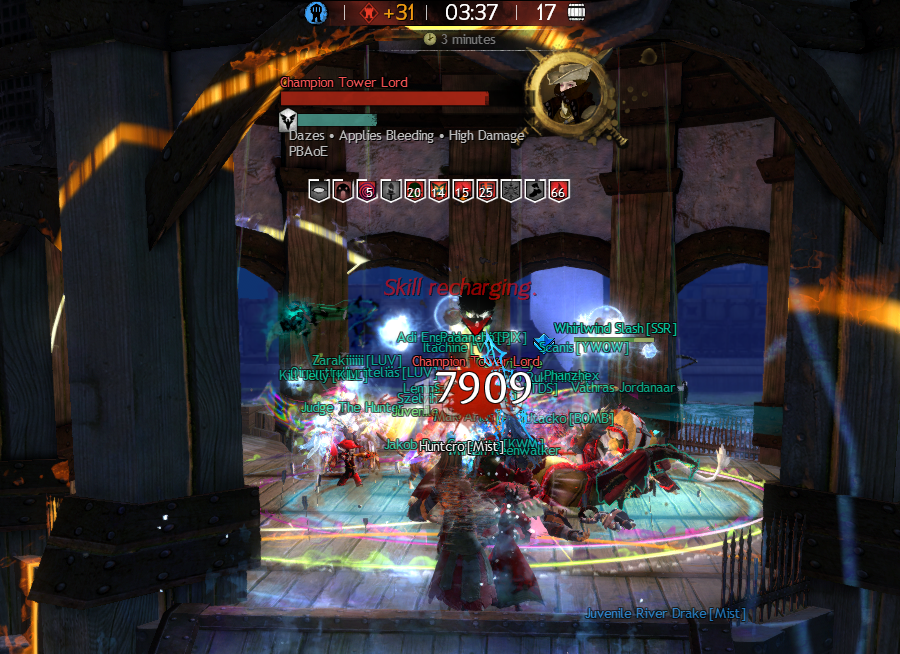
| Tower | 3 minutes | 1 stage (gate + lord) | Champion Lord |
| Keep | 5 min per gate + kill lord | Gate 1 → Gate 2 → Lord kill | Champion Keep Lord |
| Castle (Stonemist) | 5 min per gate + kill lord | Multiple gates → Legendary Lord | Legendary Keep Lord |
As of the July 16, 2024 patch, an objective becomes contested (temporarily uncapturable) if either of the following occurs while attackers are attempting to capture it:
- The Lord is pulled into combat by defenders
- Any gate or wall falls below 98% HP
Previously only a gate/wall reaching 0% triggered the contest state. This change rewards active defenders who engage early. (Source: ArenaNet patch notes, July 2024.)
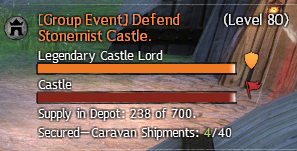
3. Castle — Stonemist
There is only one Castle in all of WvW: Stonemist Castle on Eternal Battlegrounds. It is the most valuable, most complex, and most contested structure in the game. See the full Stonemist siege guide for tactics.
| Attribute | Value |
|---|---|
| Objective Type | Castle (unique) |
| Base PPT (Tier 1) | 10 pts/tick |
| PPT at Tier 3 | 35 pts/tick |
| Inner Structure | Inner gates, inner walls, Lord room |
| Waypoint | Upgradeable — critical for defence |

4. Keeps
Keeps are the second-most valuable objectives and serve as the primary defensive anchors for each team. Each map has multiple Keeps; EBG has four (three corner Keeps + Stonemist). Keeps have:
- An outer wall and outer gates
- An inner wall and inner gates
- A Lord room with a champion NPC that must be killed to flip the Keep
- Upgradeable Waypoints that allow allied respawning
- Supply depots that store and distribute map supply
Keep Waypoints
Once a Keep reaches Tier 3 (Fortified), an upgradeable Waypoint becomes available. A built waypoint lets allies port instantly to the Keep — but it switches to contested the moment any wall or gate falls below 98% HP, blocking the port until the contest ends.


5. Towers
Towers are smaller than Keeps but still require organised effort to capture. They serve as forward staging points, provide PPT, and — when upgraded — offer waypoints for rapid allied reinforcement. Towers are the most commonly flipped objective type and are central to harassment tactics.
An upgraded tower waypoint allows your team to instantly respawn and re-engage after a wipe. This can completely flip the dynamic of defending a nearby Keep. Never neglect tower upgrades.
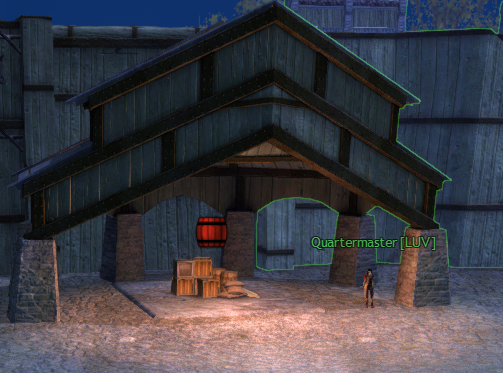
6. Supply Camps
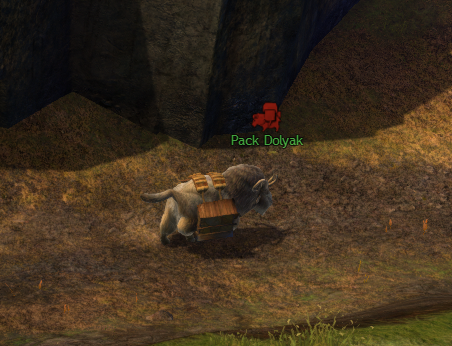
Supply Camps are relatively easy to capture but strategically vital. They are the source of all supply on the map. Every few minutes, camps dispatch Dolyak caravans to nearby objectives, restoring their supply reserves. Each Dolyak that arrives delivers approximately 10 supply per crate to the destination structure. (Source: GW2 Wiki — Supply Camp.)
Controlling your own camps keeps your Keeps and Towers supplied. Disrupting enemy camps (flipping them or killing their dolyaks) starves their upgrades and siege weapon capacity. See the dedicated Supply mechanic page for cap, costs and dolyak rules.
| Camp PPT Tier | Points/tick |
|---|---|
| Tier 1 (freshly captured) | 2 |
| Tier 2 | 3 |
| Tier 3 (fully upgraded) | 4 |
7. Dolyak Caravans
Dolyaks are supply-carrying pack animals that automatically travel from Supply Camps to nearby objectives on a fixed route and timer. Each dolyak that successfully arrives delivers supply to the objective it is headed to, fuelling upgrades and repairs.
- Killing an enemy dolyak denies their objective supply — one of the highest-value roaming activities.
- Escorting your own dolyaks (by killing enemy players trying to intercept them) is rewarded with WvW XP.
- WvW Abilities allow you to upgrade your dolyak's supply capacity and speed.
Dolyaks depart Supply Camps on a rough 3-minute cycle. Timing your camp flips and roaming routes around these cycles maximises supply disruption.
8. Sentries
Sentries are minor objectives — small guard posts held by a few NPCs. Capturing a Sentry reveals nearby enemies on the minimap for your entire team. This intelligence value is disproportionately high in roaming and havoc contexts. Sentries provide no PPT but their vision advantage can prevent ambushes and reveal enemy rotations.
9. Ruins & Shrines
These secondary objectives provide buffs rather than PPT.
| Objective | Location | Effect |
|---|---|---|
| Ruins of Power (5 total) | Eternal Battlegrounds | Holding 3+ grants Bloodlust world-wide buff (+50 Power, Toughness, Condition Damage) |
| Fire Shrine | Desert Borderlands | +10% damage in Fire zone |
| Air Shrine | Desert Borderlands | +15% movement speed in Air zone |
| Earth Shrine | Desert Borderlands | -10% incoming damage in Earth zone |
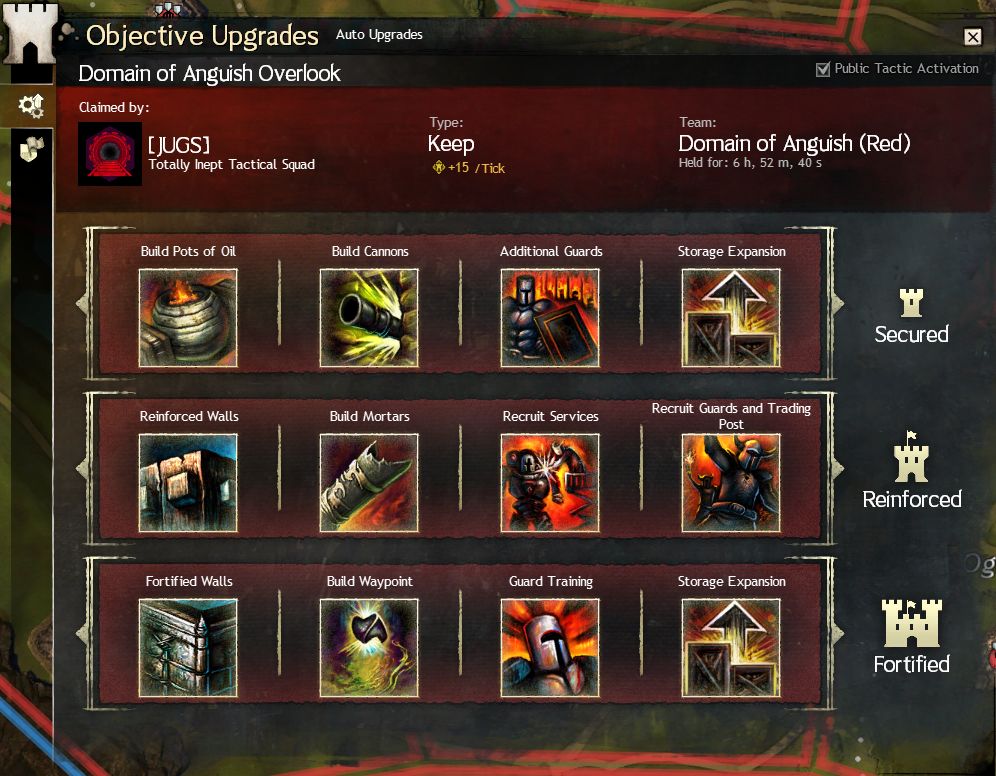
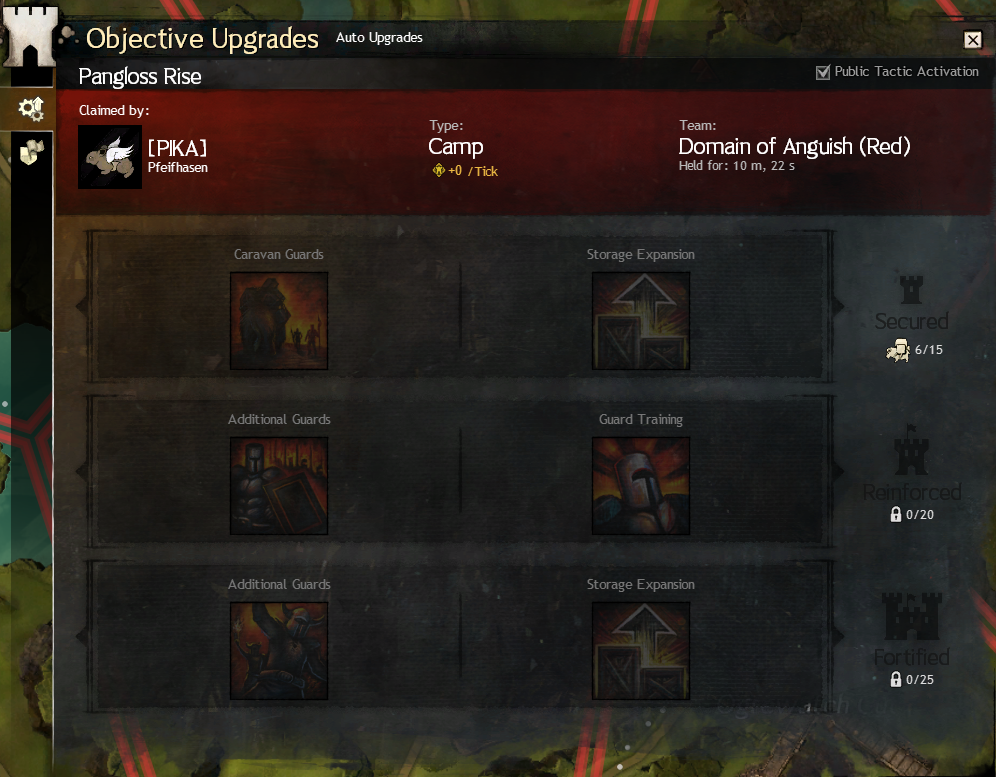
10. Objective Tiers
Every objective (except Sentries and Ruins) can be upgraded through three tiers. Higher tiers mean more PPT, stronger NPC guards, more defensive fortifications, and faster automatic upgrades. The map icon for each objective changes with its tier — at a glance you can see how upgraded an enemy structure is.


| Tier | Also Called | Guard Strength | Upgrade Unlocked |
|---|---|---|---|
| Tier 1 | Secured | Basic | Waypoint (Towers/Keeps), basic auto-upgrades |
| Tier 2 | Reinforced | Moderate | Improved guards, cannon/mortar upgrades |
| Tier 3 | Fortified | Strong | Maximum PPT, walls/gates toughened, Superior upgrades |
Tiers advance automatically via automatic upgrades fuelled by supply delivered from camps. You do not need to manually spend supply on upgrades — the system handles it as long as camps are feeding the objective.
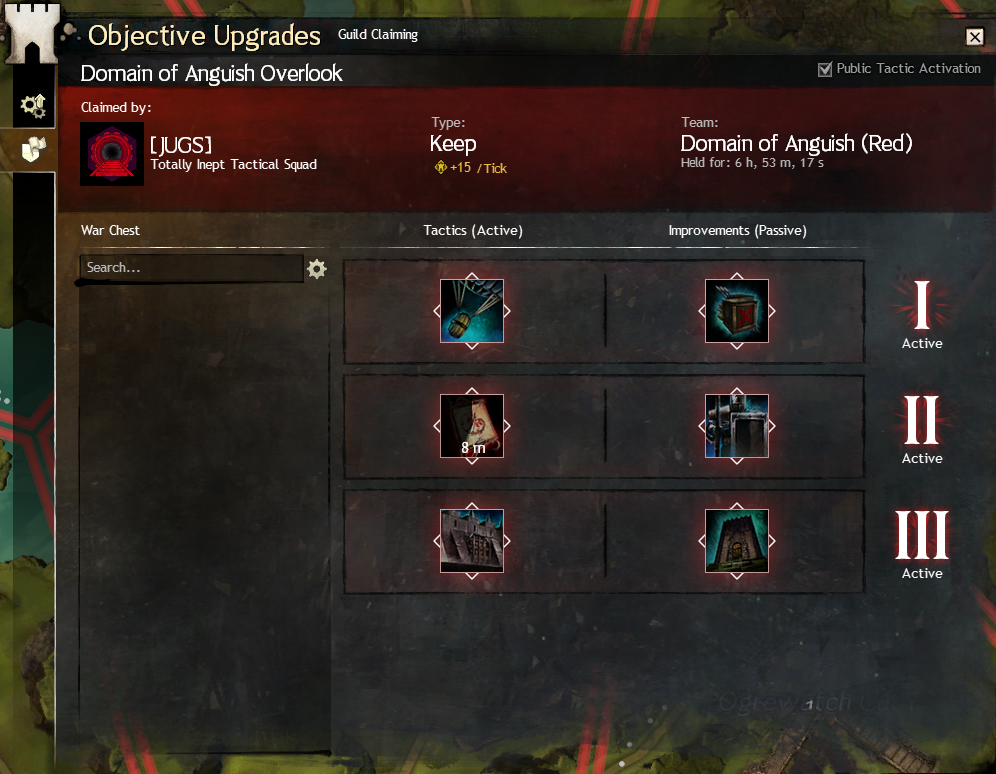
11. Automatic Upgrades
Each objective has a queue of automatic upgrades that unlock over time as supply is delivered. Key upgrades include:
- Waypoint (Keeps/Towers) — allows allied respawn inside
- Cannons & Mortars — stationary siege weapons on walls, powerful vs attackers
- Guild Upgrades — requires a guild claiming the objective; enables traps, banners, and superior auto-upgrades
- Emergency Waypoint (Garrisoned objectives) — temporary waypoint during attacks
As of the War Score Beta 2 (May 2025), each tier upgrade generates War Score for your team. A Camp upgraded T0→T3 is worth 60 pts; a Tower is worth 225 pts; a Keep is worth 675 pts. Supplying and defending objectives is now directly rewarded in skirmish scoring. See the Scoring page for the full breakdown.
A guild can claim any allied objective (requires a member with the right guild rank to interact with the claim NPC). Claimed objectives can receive Guild Upgrades — including Hardened Gates, Superior Trebuchet placement, and Presence of the Keep (an aura that weakens enemies inside).
12. Siege Weapons
Siege weapons are player-built devices that serve offensive and defensive roles. They require supply and a Siege Blueprint (dropped from chests or purchased from WvW vendors) to deploy. Each weapon has its own dedicated guide — see the Siege Weapons hub for tactics, placement, and counterplay.
| Siege | Role | Range | Supply | Notes |
|---|---|---|---|---|
| Arrow Cart | Area denial / anti-zerg | 2,500 | 30 | Up to 25 targets per volley; ineffective vs walls. |
| Ballista | Anti-siege / snipe | 3,000 | 30 | High single-target damage; destroys enemy siege. |
| Catapult | Wall & gate damage | 4,000 | 40 | Curved arc; can hit over walls. |
| Trebuchet | Long-range wall & gate damage | 10,000 | 60 | Extreme range; massive wall damage. |
| Cannon | Direct fire / anti-personnel | Long | Auto-upgrade | Mounted on walls; excellent knockback. |
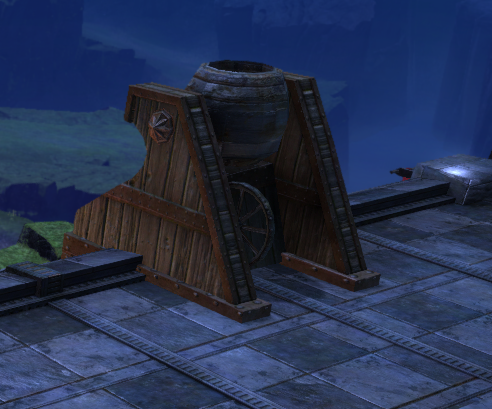
| Mortar | Indirect area denial | ~260 (arc) | 10 | Fires over walls; good for denying entry points. |
| Shield Generator | Defence — blocks projectiles | 3,750 | 40 | Creates a dome that blocks ranged attacks on defenders. |
| Oil Field | Gate defence — area burn | Gate top | 3 | Poured from gate tops; burns enemies below. |
| Flame Ram | Gate destruction | 360 (melee) | 40 | Fastest gate-breaking siege; requires ground access. |
| Siege Golem | Mobile assault / gate-breaking | 1,500 | 125 | Pilotable mech; only accepts Swiftness boons. |
Supply costs and ranges per the in-game tooltips. Click a weapon name for the dedicated guide with placement, counters, and tactics.
Defensive Wall Siege (Auto-upgrade)
Cannons, Mortars, and Burning Oil are built into Tier 2+ walls and gates as objectives upgrade — they do not need to be placed manually. Defenders can hop onto them to repel attackers.
Placing unnecessary siege wastes supply and costs your team. Only build siege when directed by a commander, or when you clearly understand the tactical need. One well-placed Arrow Cart outperforms six randomly built ones.
13. Full PPT Reference Table
| Objective | Tier 1 | Tier 2 | Tier 3 |
|---|---|---|---|
| Castle (Stonemist) | 10 | 20 | 35 |
| Keep | 6 | 10 | 16 |
| Tower | 3 | 5 | 8 |
| Supply Camp | 2 | 3 | 4 |
| Sentry | No PPT (vision only) | ||
| Ruins / Shrine | No PPT (buff only) | ||
Watch Objectives Flip in Real Time
MistIntel tracks every objective on every map and sends you instant alerts when anything flips.
Open MistIntel →