Stonemist Castle Siege Guide
Why Stonemist matters
Stonemist Castle (SMC, "Stoney") is the only Castle-tier objective in all of World vs World. It sits in the centre of Eternal Battlegrounds equidistant from all three teams' starting Keeps. Holding it is the single most valuable PPT play on the map.
| Tier | PPT |
|---|---|
| Tier 1 (Secured) | 10 |
| Tier 2 (Reinforced) | 20 |
| Tier 3 (Fortified) | 35 |
A Tier 3 Stonemist alone outscores roughly four Tier 3 Towers. Keeping it Fortified for an entire 2-hour skirmish is worth ~840 PPT to your team — often the deciding factor in close matches.
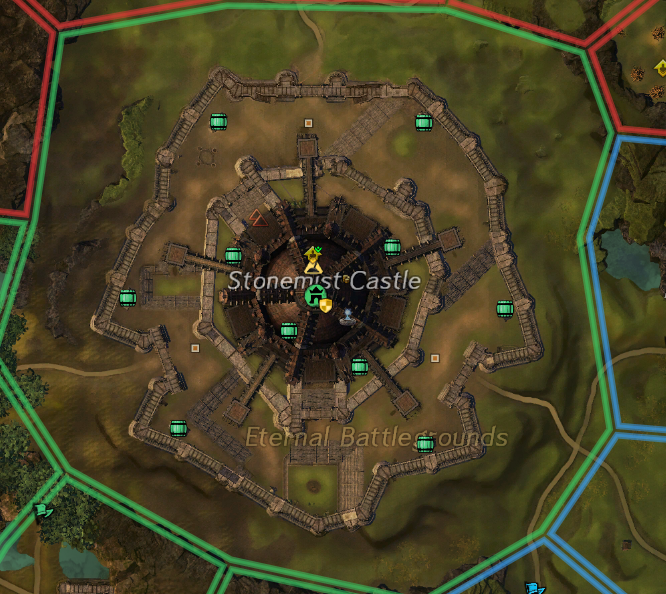
Layout
Stonemist has three main outer gates:
- Great Eastern Gate — main approach from the eastern half of EBG
- Northern Gate — main approach from the central courtyard
- Western Gate — main approach from western EBG towers
Inside the outer wall is a middle courtyard, then the inner gate & wall protecting the Lord room at the centre.
Standard attack pattern
- Pre-siege a flat outer gate with 4–6 catapults from a safe ledge. Catapults can hit gates and walls in an arc — pick a position out of mortar/cannon line of sight.
- Drop the outer gate while havoc groups dolyak-block enemy supply runs.
- Push to the inner gate. Place rams (faster) or catapults (safer if defended).
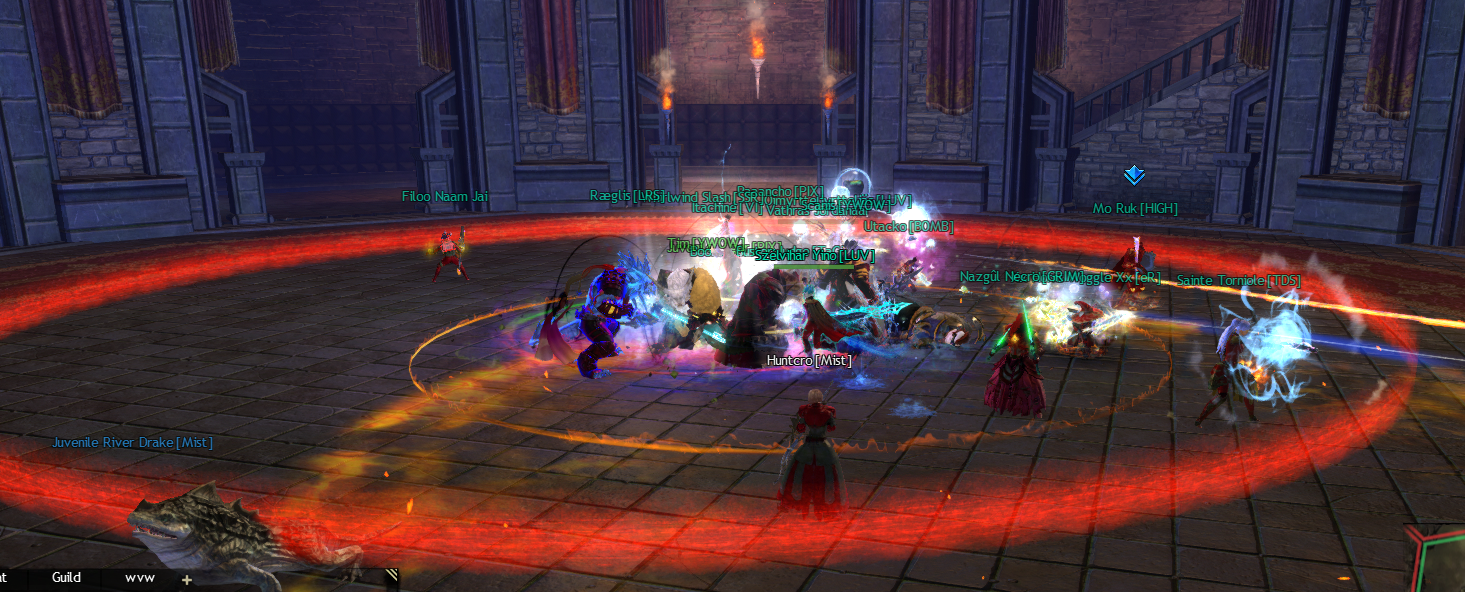
- Drop the inner gate, then push the lord room. Stack tightly inside the lord ring to stop enemy bombs from hitting the whole squad.
- Kill the Legendary Castle Lord, then hold the capture ring until the bar fills.
Defending Stonemist
- Drop tactivators — Emergency Waypoint, Chilling Fog and Watchtower turn a marginal hold into a comfortable one.
- Pre-build defensive arrow carts on inner walls covering the inner gate approach.
- Catapult enemy ram positions from inside walls — defenders have a height advantage against ram setups.
- Send dolyak escort runners to keep the depot full — every dolyak is worth ~10 supply for upgrades and repairs.
- Don't over-stack defenders — once an enemy zerg is clearly committed, having a havoc group outside camping their dolyaks is more valuable than 5 extra ranged on the wall.
For 5 minutes after capture, Stonemist's lord and guards are invulnerable. Use this window to lay down all your defensive siege and repair walls before the next push. See the Righteous Indignation page.
Common mistakes
- Three-way collapses — when two enemy teams stack inside the lord room you become free PPT for the third. Don't push lord with two hostile groups already inside.
- Wasting supply on outer arrow carts — outer is always going to fall if a 30+ zerg commits. Save siege supply for the inner ring.
- No emergency waypoint — never let SMC sit at Tier 2. Push to T3 every time.
Related
Watch Stonemist live
MistIntel shows live ownership, gate HP, supply depot levels and tier upgrades for Stonemist Castle in real time.
Open MistIntel →